Toggle navigation
COMPANY
Company
Certificates
Awards
Associations
PRODUCTS
Low Speed -Air
High Speed -Air
Extraoral Suction System
High Speed -Electric
Coupler
Chair Packages
Curing Lights
Hygiene
Handpiece Maintenance
Endodontic
Sterilization
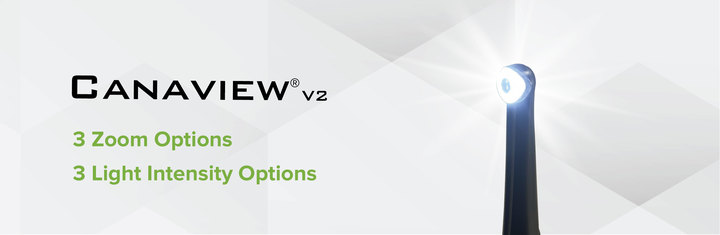
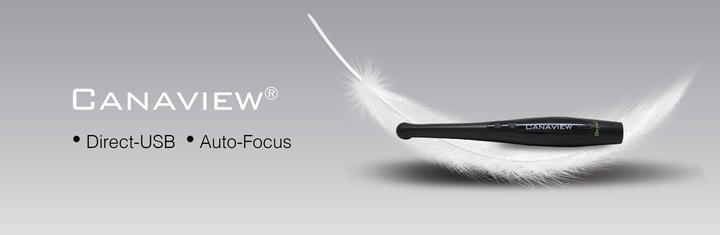
Intraoral Imaging
Extraoral Imaging
SUPPORT
Repairs
Return/Exchange
Free Goods Redemption
Warranty Registration
Download Centre
Troubleshooting
PROMOTIONS
EVENTS
CONTACT
Go Back